Recovery Kit Instructions
Instructions
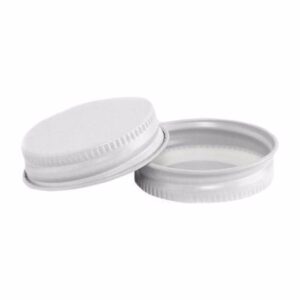
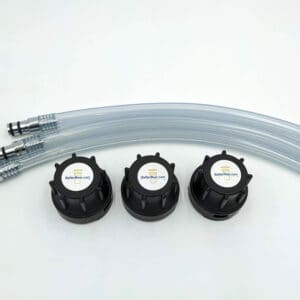
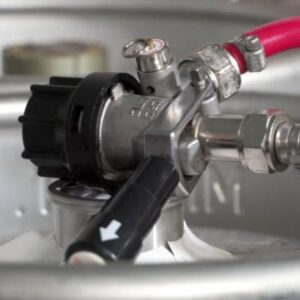
- Attach Better Beer Caps to each coupler and engage the coupler.
- Trip the FOB (push the pin in)
- At the bar, write the brands on the caps. One for each line you are recovering.
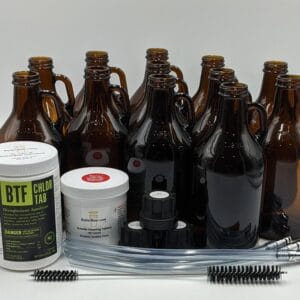
- Rinse the growlers with cold water.
- Attach the filler tube - make sure it is on straight. Pointing downwards.
- Fill the growler. Make sure the filler tube is all the way to the bottom. Pull the faucet on quickly and completely as you would when pouring a pint. Lower the growler when filling to allow the maximum amount of beer into the growler.
- Cap on foam. Make sure there is no air gap in the growler; capping on foam will extend the shelf life of the growler.
Repeat with each line.
Cleaning Growlers & Filler Tubes
Filled and capped growlers are fresh for 72 hours if refrigerated.
Sell them to regulars or staff.
Once all growlers have been emptied, begin the cleaning ritual:
Storage
Once all growlers have been sanitized and given time to dry, return them to the box.
Place the filler tubes and caps inside the box as well.
Store it in a dry location at room temperature until your draught service tech calls the night before your next clean.
When they do - repeat the process again.
Replacement Supplies
-
Draught Recovery Kit
$30.00 – $299.00 Select options This product has multiple variants. The options may be chosen on the product page -
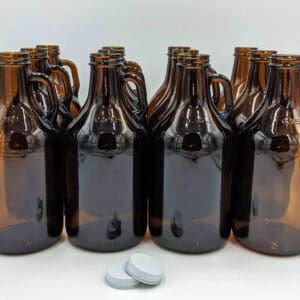
32 oz Growlers (12)
$69.00 Read more -
Cleaning Caps (6)
$49.00 Add to cart